When baking, the accuracy of measuring your ingredients is vital. It will provide better-baked goods. Doing it correctly the first time will save you money and time. Here is a rundown on Baking measuring tools and how to use them correctly.
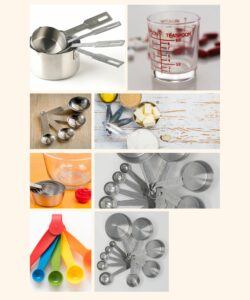
Measuring Cups
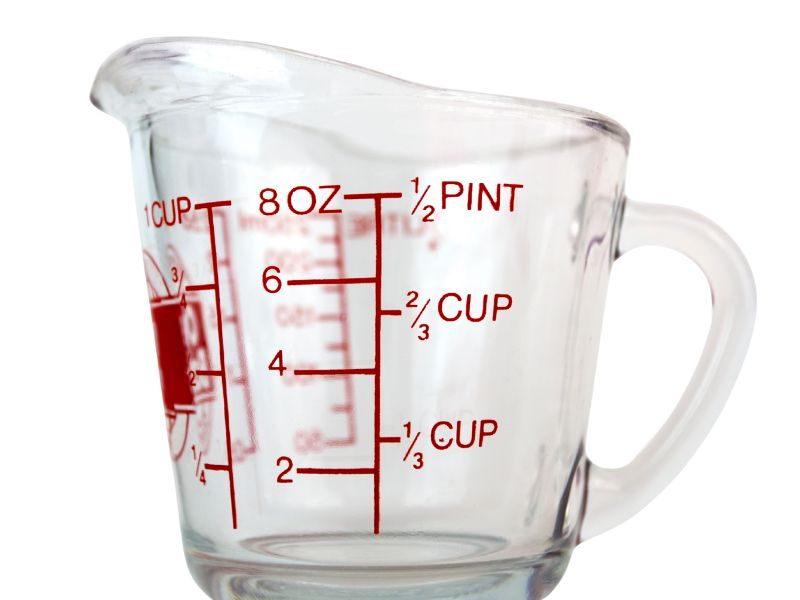

Every baker needs two sets of measuring cups. One set to measure wet ingredients such as water, milk, or oil. These are usually made of glass and have the measurements etched on the side and have a pouring spout. Just fill the cup to the desired measurement you need with the measuring cup sitting level on your counter.
And a set for measuring dry ingredients such as flour, sugar, or oats. These usually come in a set of 1 cup, 1/2 cup, 1/3 cup, and 1/4 cup. You can also find sets including 3/4 cups and 2/3 cups. I prefer sets that include all of these. If you can’t find the sets that have them all, then I recommend that you buy them separately. In your baking adventure, you will eventually need them all. They are usually made of plastic or metal.
When measuring your dry ingredients, don’t scoop the ingredients; instead, spoon the cup until overflowing and then level the ingredients with a knife or metal flat spatula. When it comes to measuring brown sugar, that is a new ballgame. Most recipes call for packed brown sugar. When measuring, spoon brown sugar in the cup, then press down, spoon more brown sugar, and press down again. Continue until your cup is to the rim.
Measuring Spoons
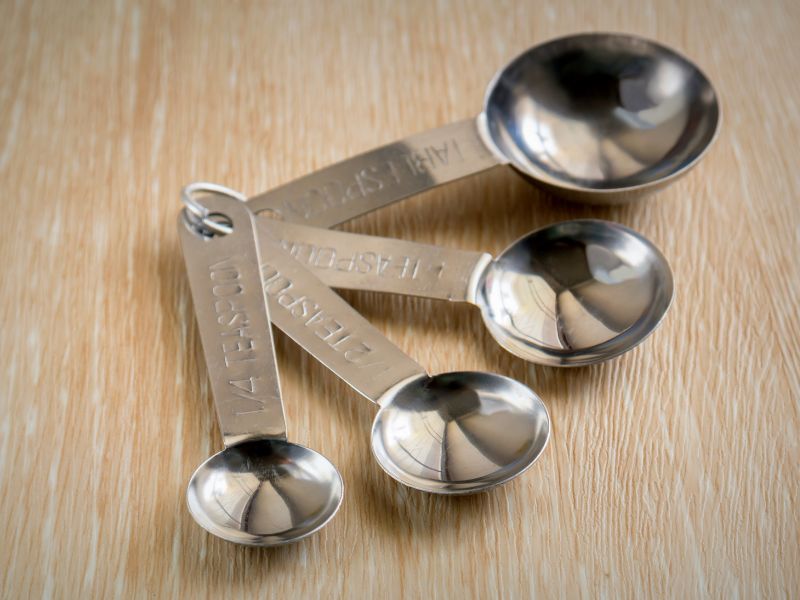
Measuring spoons are used to measure wet or dry ingredients. Salt, spices, baking powder, baking soda, vanilla, or small measurements of milk or water. They are usually made of plastic or metal and most come in sets of 1 tablespoon, 1 teaspoon, 1/2 teaspoon, and 1/4 teaspoon. When measuring wet ingredients just fill to the brim of the spoon. With dry ingredients again overfill the spoon and level with a knife.
I have heard of some bakers having 2 sets of measuring spoons. One for the dry ingredients and one for the wet ingredients. Actually, this is a good idea when baking because you will not have to wash the spoons in between the measuring. I admit I have only 1 set but I am thinking of buying another set just for this reason.
Kitchen Scales
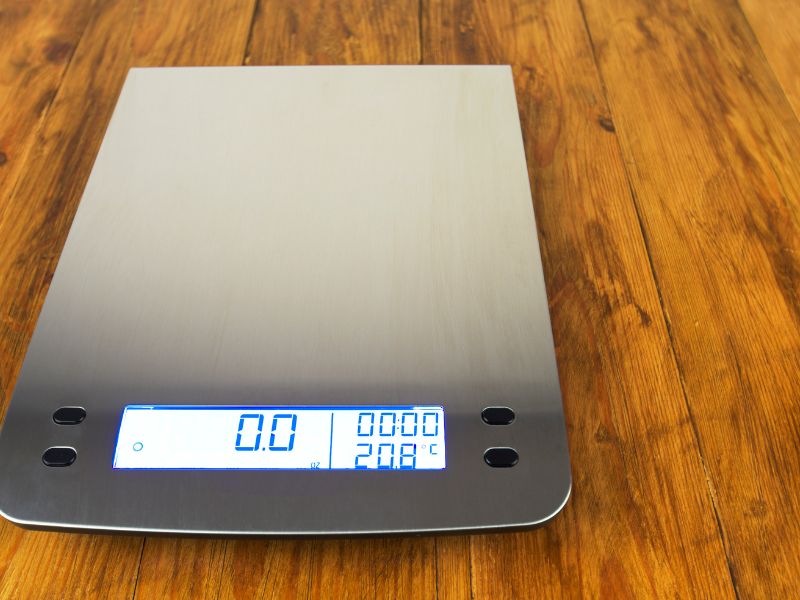
I came across a recipe calling for volume in ingredients instead of cups. That’s where the scale comes in. Actually, most professional bakers measure their ingredients this way. I had never really thought about it until I was watching a baking competition on TV and noticed that the participants all measured their ingredients this way. So being the curious person that I am, I went and bought a scale and performed an experiment.
I measured a cup of flour and then poured the flour into a bowl then measured the flour on the scale. I did this again and lo and behold I came up with different weights. Huh! I found this really interesting. Most baked goods come out fine measuring with cups and spoons but to get that exceptional baked good maybe measuring with a scale is the way to go. I leave that up to you. I continue to use cups and spoons because that was the way I was taught. But I do want to experiment more with measuring with a scale.
How To Use A Kitchen Scale
Electronic kitchen scales have a feature called a tare. The tare resets the scale to zero. Put a bowl onto the scale and press the tare. The scale resets to zero so that you can weigh the ingredient in the bowl without including the weight of the bowl. Easy as that!
Baking Measuring Tools, The Right Tools for the Right Job!
When choosing the right baking measuring tools and using them correctly and accurately makes for better results in your baking. After all, Electricians, mechanics, etc have certain tools for their profession to do the job right and accurately. And so do bakers!
Do you have the right baking measuring tools? Please leave me a comment below with your thoughts.
Keep On Baking
Taianne

I’m Taianne, the owner and operator behind We Are Baking. Baking my first cake at age 11 hooked me on creating sweet treats. Though my interest faded during childhood, it was rekindled when I married my apple pie-loving husband. I love trying new recipes, tweaking classics, and helping others learn the science and art of baking. I started We Are Baking to share tips, tricks, and favorite recipes I’ve discovered over the years. When not in the kitchen, I enjoy spending time with family and friends. My goal is to inspire others to embrace their creativity through baking. Feel free to contact me with any questions!
Taianne@wearebaking.com